
Summit Safety 101: How to Safely Hike Mountains As A Beginner
Table of Contents
Summit Safety 101
There is something incredibly exciting about hiking to the top of a mountain. The first time you stand on a summit and look out over the mountains below, it can feel like one of the greatest accomplishments imaginable. But mountain hiking is very different from walking a local trail—and the higher you go, the quicker conditions can change, and the more vital it is to be prepared.
One of the biggest lessons I learned when I was becoming more interested in higher altitude mountain hiking is that reaching the summit isn’t the only goal. Getting back down safely is part of the summit. I’ve learned the consequences of continuing to push on when I should have turned back. And I’ve also learned that doing your research is more important than just being physically fit. A trail that looks manageable from the parking lot can become steep, rocky, snowy, windy, exposed, or completely socked in by clouds several thousand feet higher. You have to know the conditions not just at the base, but at the summit, and luckily there are specific resources for that.
And then sometimes, despite the knowledge and the planning and the gear, the smartest thing you can do is turn around. This guide will help you know when that point actually is.
The good news is that you don’t need to be an experienced mountaineer to safely enjoy mountain trails. You simply need to understand the risks, prepare appropriately, possess the right gear, know your limits, and be willing to change your plans when conditions change.
Here’s my beginner’s guide to summit safety 101.
Disclosure: Below are some affiliate links-these are all products I highly recommend. I won’t make any recommendations on this page that I haven’t tested or personally used! Enjoy this guide mountain summit safety 101!
#1: Start With the Right Mountain
Before worrying about what gear to buy, choose an appropriate mountain. A mountain’s mileage alone doesn’t tell you how difficult it will be.
For example, a 6 mile mountain hike with 2,000 feet of elevation gain may be considerably harder than a 10 mile trail with only 500 feet of climbing.
When evaluating a summit, look at:
- Total mileage
- Elevation gain
- Highest elevation
- Starting elevation
- Steepness/grade
- Terrain and level of maintained trail
- Exposure
- Scrambling potential
- Rockfall potential
- Snow and ice potential
- Typical weather
- Water availability
- Cell service
- Distance from emergency services
- Time of year and effect on hiking (number of daylight hours, full moon versus new moon, etc.)
- Recent reviews (on AllTrails, etc)
- Trail closures or notices
- Parking logistics (taking a LOT longer to park can affect a hike timeline)
Overall, it is important to choose hiking trails based on your actual experience, fitness, equipment, and familiarity with the environment rather than simply choosing the most impressive summit you can find.
Start Smaller Than You Think
Your first mountain summit doesn’t need to be your biggest. A great progression might look like:
Local hills → lower mountain trails → moderate summits → higher elevation summits → more technical mountains
Good rule of thumb, no matter what you’re hiking. Use each hike to learn something.
- How does your body respond to elevation?
- How much water do you actually need?
- How quickly do you descend and how do you feel after?
- How does your gear perform?
- What happens to your pace on a steep climb?
The more experience you gain on smaller mountains, the better prepared you’ll be for bigger ones.
#2: Understand Elevation Gain
One of the biggest mistakes beginners make is looking only at mileage. Instead, look closely at elevation gain.
A 5 mile trail with 2,500 feet of climbing is a very different experience from a relatively flat 5 mile hike. Pay attention to the elevation profile when planning your hike. Most hiking apps can show you specific grades and how the elevation gain progresses.
A trail might involve:
- Long gradual climbing
- Short but extremely steep sections
- Repeated climbs and descents
- A steep final push to the summit
A final steep push on any mountain summit can be particularly challenging because you’ve already accumulated hours of fatigue. It becomes even harder if you are pushing through higher elevation and thinning air.
#3: Learn About Altitude Before You Go
Altitude becomes an increasingly important consideration as you climb higher. The CDC notes that people traveling to elevations around 8,000 feet and higher may be at risk for altitude illness.
At high elevation, there is less oxygen available in each breath. That doesn’t necessarily mean you’re out of shape. *You can be an extremely fit runner or hiker and still experience altitude illness.
Acute Mountain Sickness
The most common form of altitude illness is acute mountain sickness (AMS).
Symptoms can include:
- Headache
- Fatigue
- Dizziness
- Loss of appetite
- Nausea
- Vomiting
- Difficulty sleeping
Don’t simply assume you’re feeling this way because you’re tired from hiking. Altitude illness can become dangerous.
More serious forms include:
- High altitude cerebral edema (HACE)
- High altitude pulmonary edema (HAPE)
Symptoms such as confusion, difficulty walking, severe shortness of breath, breathlessness at rest, or worsening symptoms require urgent action and descent.
The Golden Rule of Altitude
Do not ascend higher when you’re experiencing symptoms of altitude illness. If symptoms are worsening, descend. Don’t let reaching the summit become more important than your health.
#4: Give Your Body Time to Acclimate
If you’re traveling from low elevation to a high mountain, don’t expect your body to perform exactly as it does at home. When possible, allow time to acclimatize before attempting a strenuous high elevation hike.
A practical strategy might be:
- Day 1: Arrive at elevation and take it easy.
- Day 2: Easy activity or short hike.
- Day 3: Moderate hike.
- Day 4: Bigger summit attempt.
Your itinerary will depend on the mountain and your individual circumstances, but the basic idea is simple:
Don’t go from sea level to a massive summit attempt without giving your body time to adjust.
For a real life example, check out my guide to hiking Mt. Whitney in one day, a 14’er in California’s Sierra Nevada Mountains with over 6,000 feet of elevation gain. I’ve successfully summited twice as a ‘flatlander’ Texan. It also happens to be one of the 50 state high points in the U.S., and the highest point in the lower 48 states. In this guide, I outline exactly how I planned out the days before this massive summit attempt coming from lower elevation in my home state of Texas.

#5: Don’t Confuse Altitude With Fitness
This is especially important for endurance athletes. Being able to run a marathon doesn’t necessarily mean you’re ready to hike a 14,000 foot mountain. Fitness helps tremendously, but altitude introduces another variable.
You may notice:
- Your breathing becomes harder.
- Your pace slows dramatically.
- Your heart rate rises more easily.
- Hills feel much steeper.
- Recovery between hard efforts takes longer.
That’s normal to some extent. Don’t try to maintain your sea level pace.
Slow down.
Take shorter steps.
Use rest breaks.
Let your breathing settle.
#6: Weather Is One of the Biggest Mountain Hazards
Mountain weather can change extremely quickly. And you have no control over it.
You can leave the trailhead under blue skies and find yourself in:
- Thunderstorms
- High winds
- Rain
- Snow
- Hail
- Fog
- Freezing temperatures
The National Park Service specifically recommends checking weather forecasts before hiking and being prepared for sudden changes.
And don’t just check the weather in the nearest town. Check the weather at the elevation you’re actually hiking. A mountain summit can have dramatically different conditions from the valley below.
*My favorite resource for checking summit specific forecasts and weather conditions is www.mountain-forecast.com
It has proven invaluable in planning for summit conditions ahead of time, and is consistently accurate.
#7: Learn to Take Thunderstorms Seriously
One of the most important mountain safety rules is: If you hear thunder, get off the mountain.
Lightning is particularly dangerous on exposed ridges, peaks, and summits. There is no safe place outside during a thunderstorm. If you hear thunder, you are close enough to be struck.
This means you shouldn’t wait until:
- Lightning is directly overhead
- Rain starts
- The storm reaches the summit
- Other hikers start leaving
By then, you may already be in a dangerous position. It’s hard to be the first hiker to turn back due to developing weather, but even harder to be a hiker stuck in a life threatening situation.
Plan Your Summit Around the Weather
Many mountain thunderstorms develop during the afternoon. That is one reason early starts are common for mountain hikes.
Instead of thinking: “We’ll summit whenever we get there.” Think: “We need to be off the exposed summit before storms are likely.”
And establish a turnaround time before you start. The best rule of thumb is to be off the summit by noon. Personally, I always aim for between 10 – 11 am, because you never know what might come up between leaving the trailhead and reaching the summit.
#8: Watch the Wind
Wind can dramatically change how a mountain feels. A forecast of 50°F at the summit might sound comfortable. But add strong wind and the conditions can become dangerously cold.
Wind can also:
- Make balance difficult
- Increase hypothermia risk
- Blow loose objects around
- Make exposed ridges frightening or dangerous
Always carry a windproof layer. This could be a hard or soft shell, insulated or not, depending on conditions.
#9: Bring Layers—Even in Summer
Might sound strange in the summer, but mountain weather doesn’t follow the weather at the trailhead. Your clothing system for any high altitude mountain trail and summit should generally include:
- Base layer
A moisture-wicking shirt that moves sweat away from your skin.
- Insulating layer
Fleece, lightweight puffy, wool, or another warm layer.
- Shell
A waterproof/windproof rain jacket. Can be a hard or softshell outer layer, as long as it is fully windproof and waterproof.
- Extra emergency layer
Something warm enough to help you survive an unexpected delay. I always hike with a simple emergency blanket and an SOL Bivy. Both are super lightweight, compact, and easy to bring along on any mountain summit.
#10: The Ten Essentials
If you’re moving into mountain hiking, become familiar with the Ten Hiking Essentials. They aren’t simply a list of things to bring—they’re systems designed to help you handle unexpected problems. Even on trails you are familiar with, you need to have these items.
#11: Navigation: Don’t Rely Entirely on Your Phone
A phone with GPS is incredibly useful. But it shouldn’t be your only navigation system. Download your route before leaving because mountain trails may have little or no cell service.
Consider carrying:
- Offline maps
- Physical map
- Compass
- GPS device or phone
- Backup battery
And most importantly:
Know how to use them before you need them. A map and compass aren’t helpful if you don’t know how to read them.
#12: Bring a Headlamp—Even for a Day Hike
This is one of my favorite pieces of beginner hiking advice, and one that is easy to miss for both newbies and experienced hikers.
Always carry a headlamp on a serious mountain hike. Even if you plan to be back before sunset. Why? Because things don’t always go according to plan.
You could:
- Take a wrong turn
- Get injured
- Move slower than expected
- Encounter bad weather
- Spend extra time helping another hiker
- Have to turn around
A headlamp can turn a potentially dangerous situation into an inconvenient one. Bring extra batteries or make sure your rechargeable headlamp is fully charged.
#13: Bring More Food Than You Think You’ll Need
Mountain hiking burns a lot of energy. Pack enough food for the planned hike plus an emergency reserve.
Good hiking foods include:
- Trail mix
- Nuts
- Nut butter
- PB and J sandwiches (Uncrustables have become a mountain staple for me on long hiking days)
- Energy bars/granola bars
- Dried fruit
- Jerky
- Sandwiches
- Crackers
- Gummies/fruit snacks
- Energy gels
- Electrolyte drink mix
Don’t wait until you’re completely exhausted to eat. Eat small amounts regularly. And don’t forget to replace sodium and electrolytes if you are hiking in a warmer environment and depleting those faster.
#14: Hydration Is About More Than Water
Your fluid needs depend on:
- Temperature
- Humidity
- Elevation
- Exposure
- Hiking pace
- Body size
- Sweat rate
- Pack weight
Bring enough water for your planned hike and know where reliable refill sources are located. If you’ll be collecting water, carry an appropriate filtration or purification system. Here’s the collapsible Katadyn BeFree filter and Sawyer Squeeze filter I use.
This is also where proper research comes into play. Water sources may be seasonal. Knowing where water sources are located also involves knowing if they are currently usable. For example, there is a pipeline that supplies water to the inner Grand Canyon for hikers completing a Rim to Rim, but it frequently gets shut off due to breaks. There are water sources on many backcountry trails that you can filter from, but in bad droughts they may be completely dry.
#15: Don’t Overdrink
Hydration is important, but more water isn’t always better. Drinking excessive amounts of plain water during prolonged exercise can contribute to dangerously low blood sodium.
For long, hot, sweaty hikes, use electrolyte containing drinks or foods to help replace sodium lost through sweat.
Your individual fluid and sodium needs can vary considerably, so use your own sweat rate and previous hiking experience to develop your strategy.
#16: Protect Yourself From the Sun
Higher elevations can mean intense sun exposure, even in cooler temperatures.
Bring:
- Sunscreen
- Sunglasses
- Hat
- Lip balm with SPF
- Lightweight sun protective clothing
Don’t assume you need less sun protection because the air feels cool.
#17: Be Prepared for Snow and Ice
A mountain that is completely snow free at the base may still have:
- Snowfields
- Ice
- Frozen lakes
- Icy trail sections
- Snow-covered route markers
Snow and ice can dramatically change the difficulty of a hike, as well as the gear you need. Depending on conditions, you may need:
- Microspikes
- Traction devices
- Trekking poles
- Gaiters
- Ice axe
- Mountaineering boots
The important beginner lesson is:
Don’t learn technical snow travel on a dangerous summit because you underestimated the conditions.
If the route requires equipment or skills you don’t have, choose a different hike.

#18: Watch for Loose Rock and Rockfall
Rocky mountain trails can have unstable terrain, like scree fields and boulders. Be particularly careful:
- Above other hikers
- Below climbers
- On steep scree slopes
- Around loose boulders
- On exposed ridges
Watch where you place your feet. Don’t assume a rock is stable just because it looks solid.
#19: Take Exposed Sections Seriously
A trail doesn’t have to be technically difficult to be dangerous. Exposure means that a fall could have serious consequences.
Examples include:
- Narrow ridges
- Cliff edges
- Steep traverses
- Scrambles above steep drops
If exposure makes you uncomfortable, don’t let summit fever convince you to continue. Turn around. There will always be another mountain.
#20: Be Careful Around Waterfalls
Waterfalls are beautiful, and dangerous. Wet rock can be extremely slippery. Snow melt from higher altitudes can cause swelling on mountain trails, especially in late spring and early summer as the temperatures warm.
Avoid:
- Standing directly above waterfalls
- Walking onto wet ledges
- Crossing swift water unnecessarily
- Getting close to cliff edges
#21: Watch for Rapidly Rising Water
Rain doesn’t have to fall directly where you are to create dangerous stream conditions. Storms upstream can cause water levels to rise quickly. Never assume a stream is safe simply because it looked harmless earlier. If there are storms nearby, always be on alert for flash flooding, especially in prone areas.
If water is:
- Rising
- Fast moving
- Deep
- Turbid
- Carrying debris
Don’t cross. Look for another route or turn around.
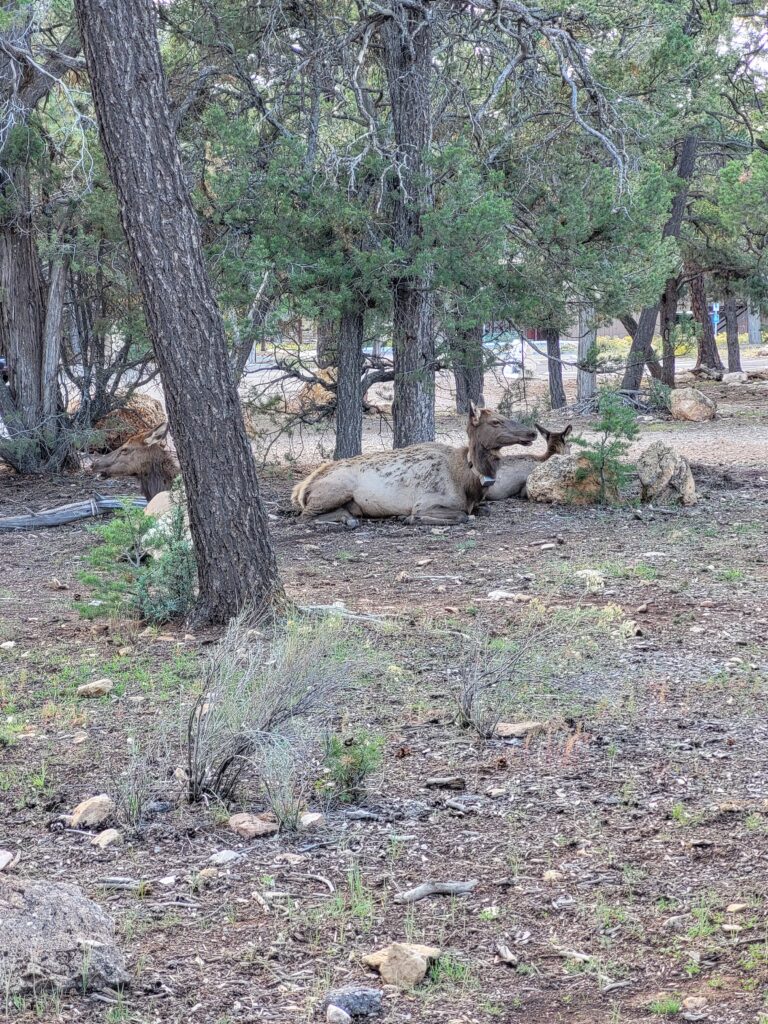
#22: Learn About Wildlife Before Your Hike
Different mountains have different wildlife risks. Depending on where you’re hiking, you may encounter:
- Bears
- Mountain lions
- Moose
- Snakes
- Elk
- Wild goats
- Insects
- Ticks
Learn the appropriate wildlife behavior for the area before you go. And remember that wildlife isn’t necessarily dangerous simply because it is nearby.
Give animals space.
Never feed wildlife.
Never approach young animals.
And don’t assume a seemingly calm animal is safe to approach.
Wildlife can also close a trail temporarily, such as for bear activity. Another reason to also check the conditions of your trail ahead of time.
#23: Don’t Forget About Plants and Environmental Hazards
Mountain environments can expose you to:
- Poison ivy
- Stinging nettles
- Cacti
- Thorny vegetation
- Ticks
- Mosquitoes
- Extreme sun
- Dehydration
Learn what hazards are common in the area you’re visiting.
#24: Trekking Poles Can Be Extremely Helpful
Trekking poles aren’t required for every hike, but they can be particularly useful on mountain terrain. *If you know how to use them beforehand. I know so many people who never test out trekking poles until the day of their big hike.
Trekking poles can help with:
- Steep ascents
- Steep descents
- Loose rock
- Mud
- Snow
- Stream crossings
- Balance
They’re especially helpful on the descent when your legs are tired. If you have a history of descents being harder on your body, then look into using trekking poles. And check out these other tips for mastering mountain descents.
#25: Your Descent Matters as Much as Your Ascent
This is something beginners sometimes underestimate. You may feel fantastic when you reach the summit. Then you realize:
You still have to hike all the way back down.
A lot of beginner hikers assume the downhill will be faster and easier. This is often not the case. In fact, for a lot of hikers it is slower, harder, and from my own experience consulting and coaching long distance hikers, where the VAST majority of injuries occur!
Descending can be hard on:
- Knees
- Quads
- Ankles
- Feet
Know how your body handles descents ahead of time.
Build a realistic timeline based on experience and not the assumption of going faster or being easier.
On the actual downhill, take your time.
Use trekking poles if helpful.
Watch your footing.
Take smaller steps.
Don’t rush simply because you’re excited to be finished.
#26: Start Early
A timeless summit 101 rule that almost always applies to every mountain hike. An early start can provide several advantages:
- Cooler temperatures
- More daylight
- More time for unexpected delays
- Better chance of beating afternoon thunderstorms
- Less pressure to rush
- More time to turn around
- Easier to snag harder to get parking spots
- Less traffic on trails
Starting early isn’t a guarantee of safety, but it gives you more options as well as a larger buffer.
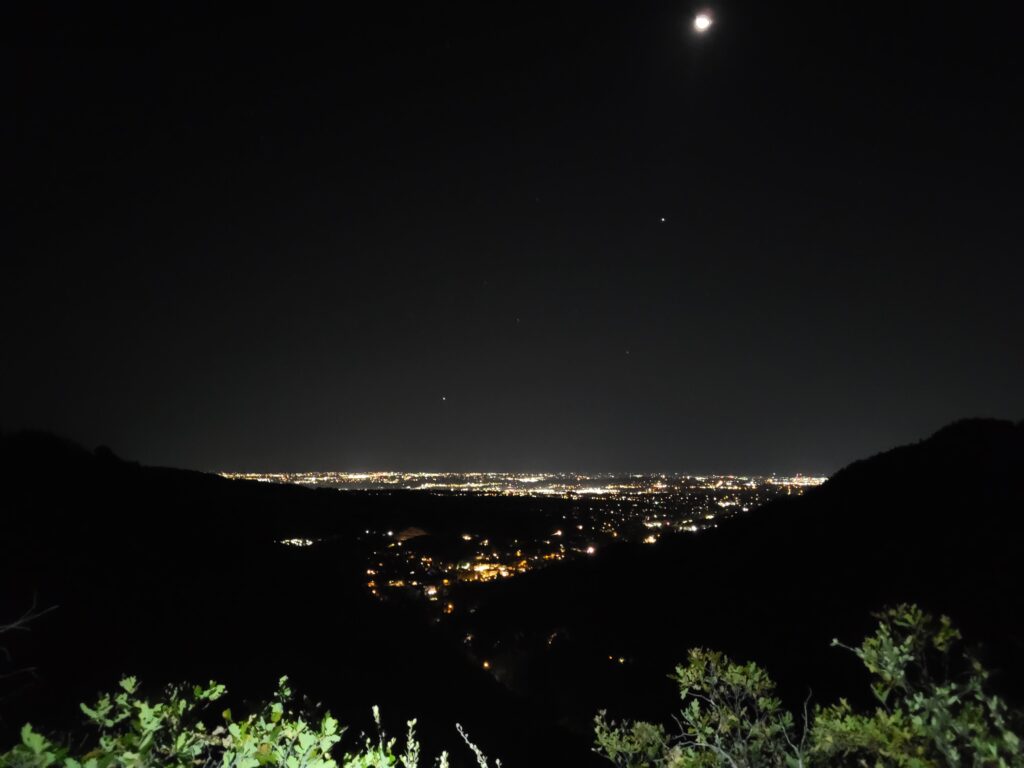
#27: Have a Turnaround Time
And then actually stick to it if necessary. This might be the most important psychological skill for a new mountain hiker.
Before you begin, decide:
“At this time, we’re turning around no matter where we are.”
For example:
“If we haven’t reached the summit by 11:30, we’re turning around.”
This prevents you from making emotional decisions later.
Maybe you’re only 30 minutes from the summit.
Maybe you’ve come all this way.
Maybe the weather looks questionable.
Maybe you’re exhausted.
The turnaround time gives you a decision you’ve already made while you’re thinking clearly.
#28: Learn to Recognize Summit Fever
Summit fever is the overwhelming desire to reach the top despite increasing risks.
It sounds like:
“We’re almost there.”
“We drove all this way.”
“We’ll just push through.”
“The storm isn’t that close.”
“I don’t want to go back without summiting.”
This mindset has contributed to countless mountain accidents.
Remember:
The mountain isn’t going anywhere.
A failed summit attempt isn’t a failure.
Sometimes the smartest and most experienced decision on a mountain is turning around.
#29: Know When to Turn Around
Turn around if:
- Weather deteriorates
- Thunder is approaching
- You’re experiencing worsening altitude symptoms
- Someone becomes injured
- You’re running low on water
- You’re running out of daylight
- Your group is exhausted
- The terrain becomes more technical than expected
- You’re uncomfortable with the exposure
- You’re no longer confident in your ability to safely continue
You don’t need to justify the decision. Safety is enough.
#30: Don’t Hike Beyond Your Group’s Ability
If you’re hiking with friends or family, consider the least experienced member. Groups should have a plan to stay together, whether that’s the entire group (which I personally feel is not always realistic in larger groups), or at least a plan for similar paces to break off with at least several people together. Never leave a struggling hiker behind alone.
#31: Tell Someone Your Plans
Before leaving, tell someone:
- Where you’re hiking
- Which trail you’re taking
- Where you’re parking
- Who you’re hiking with
- When you expect to return
- When they should contact authorities if you haven’t checked in
Leave a trip plan with a trusted family or friend, and consider leaving an Emergency Hiking Contact Form like this one in a glove compartment or under the driver’s seat in your vehicle in case of an emergency.
For remote hikes, consider carrying a satellite communicator or personal locator beacon as well.
#32: Know What to Do If You Get Lost
If you realize you’re lost:
STOP.
Don’t immediately start wandering around trying to find the trail. Use your map and GPS to determine your location.
Then:
- Stop moving unnecessarily.
- Assess where you are.
- Check your map.
- Retrace your route if you can safely identify it.
- Contact someone if you have communication.
- Stay put if continuing would increase the danger.
- Use your emergency equipment if necessary.
A common mistake is turning a minor navigation error into a major emergency by continuing farther into unfamiliar terrain.
#33: Know Basic First Aid
You don’t need to be a wilderness EMT to carry a useful first aid kit.
At minimum, consider:
- Bandages
- Gauze
- Athletic tape
- Blister treatment
- Antiseptic
- Pain medication
- Personal medications
- Tweezers
- Emergency blanket
For more remote mountain hikes, consider taking a wilderness first aid course.
#34: Don’t Forget Blister Prevention
Foot problems can end a hike surprisingly quickly.
Before a big mountain hike:
- Wear broken-in shoes or boots.
- Invest in blister preventing socks and test them before hand.
- Address hot spots immediately.
- Carry blister treatment.
- Keep your feet as dry as possible.
- Consider bringing an extra pair of socks
Don’t wait until you have a giant blister to do something about it.
#35: Train for the Mountain You’re Actually Hiking
If you’re preparing for a summit, don’t train exclusively on flat roads. I know this is easier said than done if you live somewhere like I do in flat north Texas, but you may have to get creative. Definitely get the time on your feet where you can, including mileage on those flat roads and trails. But supplement as necessary with some of the methods below.
Also, don’t count out a trail based on the profile. Pull up the elevation profile and assess if there are a few big hills you could do repeats on. This has worked very well for me. I do a lot of training on a local loop trail that has one big hill and offers 300 feet of gain. It does get a little repetitive and boring sometimes, but it gets the job done.
Include:
- Hill repeats
- Stairs
- Ellipticals and stair climbers
- Treadmills set to maximum incline
- Long hikes (your body needs to be used to consistent output over a long distance)
- Steep climbs
- Steep descents
- Uneven terrain
- Weighted-pack hiking
- Strength training and cross training ( biking has been extremely beneficial to mountain training, especially uphill biking)
Your training should gradually prepare your body for the specific demands of your objective.
A mountain summit requires more than cardiovascular fitness.
You need:
Leg strength + endurance + balance + climbing ability + descending ability + hiking-specific durability.
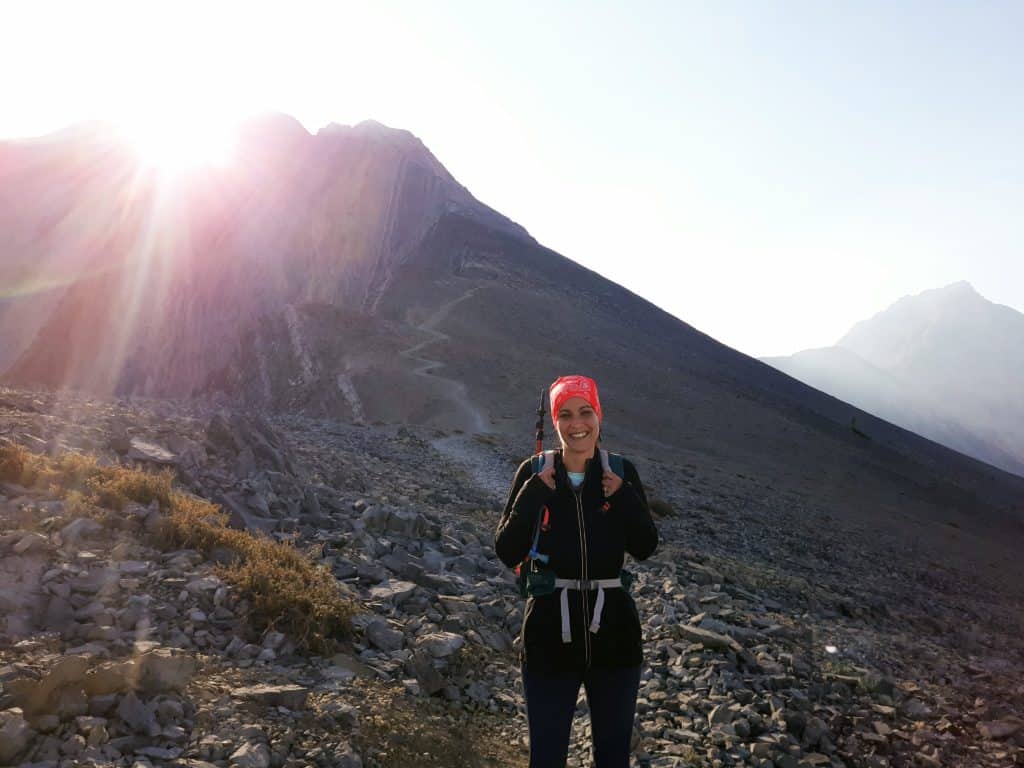
#36: Practice With Your Gear Before Summit Day
Don’t make your first experience with your new gear the day of your biggest hike. Testing out your gear, fuel, and hydration is JUST as important as the physical training.
And never, ever introduce a new gear item or fueling item the morning of a big hike.
Test:
- Hiking boots or trail runners
- Socks
- Backpack
- Trekking poles
- Hydration system
- Water filter
- Rain jacket/outer shells
- Navigation app
- Headlamp
- Layers
- Food/fuel
- Electrolytes
You don’t want to discover at 12,000 feet that your new boots cause blisters or your backpack doesn’t fit correctly.
#37: Know Your Beginner Mountain Safety Checklist
Before leaving the trailhead, ask:
Route
☐ Do I know the route?
☐ Do I know the mileage?
☐ Do I know the elevation gain?
☐ Do I know the highest elevation?
☐ Do I understand the terrain?
Weather
☐ Did I check the mountain-specific forecast?
☐ Do I know the storm risk?
☐ Do I have a turnaround time?
☐ Do I have adequate layers?
Health
☐ Am I feeling healthy?
☐ Am I acclimated to the elevation?
☐ Do I know the symptoms of altitude illness?
☐ Do I know when I should descend?
Gear
☐ Navigation
☐ Headlamp
☐ Extra clothing
☐ Outer layer/shell
☐ First aid
☐ Emergency shelter
☐ Food
☐ Water
☐ Water filter/purification
☐ Sun protection
☐ Emergency communication
Emergency Planning
☐ Someone knows where I am.
☐ Someone knows when I should return.
☐ I know how to call for help.
☐ I have a plan if conditions deteriorate.
#38: The Most Important Mountain Safety Rule
If I could give a beginner mountain hiker just one piece of advice, it would be this:
Don’t let the summit become more important than getting home.
A summit is a destination. It isn’t a requirement. The mountains will still be there tomorrow.
If the weather turns, turn around.
If you’re sick or symptotic, turn around.
If the trail is beyond your ability, turn around.
If something doesn’t feel right, turn around.
There is absolutely nothing embarrassing about walking away from a summit. In fact, knowing when to turn around is one of the most important skills you can develop as a mountain hiker.
Final Thoughts On Becoming a Safer Mountain Summit Hiker
Mountain hiking can be incredibly rewarding, and you don’t have to be an expert to get started. Start with mountains that match your experience. Build your fitness gradually. Learn how elevation affects your body.
Study the weather. Carry the right gear. Learn basic navigation. Respect changing terrain. Understand altitude illness.
Start early. Carry enough food and water. Tell someone where you’re going. And most importantly, learn to make good decisions when circumstances change.
The goal isn’t simply to stand on the summit. The goal is to enjoy the entire adventure and come home ready to climb another mountain.