11 Important Bike Safety Rules and Why You Need to Know Them
Starting a biking journey is an exciting adventure, but it can also be a little nerve wracking, depending on whether you’ve maintained experience on a bike for years, or whether it is brand new to you! Regardless, pursuing your biking goals is a worthwhile and rewarding venture, but one that must be done with careful investment in bike safety and bike safety rules. These are the critical components of bicycle safety, and include road rules to follow, cautions to take, how to practice, and important bike safety gear! Get ready to pedal that pavement confidently, responsibly, and safely, with these top cycling safety tips!

Disclosure: Below are some affiliate links-these are all products I highly recommend. I won’t make any recommendations on this page that I haven’t tested or personally used! Enjoy this cycling safety tips guide!
Table of Contents
11 Bike Safety Rules and Cycling Safety Tips
Safely navigate all your paths! These bicycle safety tips, bike safety rules and bike safety gear recommendations will allow you to embark on a biking journey safely and responsibly, no matter where your adventures take you!

Bicycle Safety Tip #1: Invest in the Proper Bike Safety Gear
There are a few items that you should never hop in the saddle without. As I’ve learned from my own experience, as prepared and knowledgeable as you believe yourself to be, falls and crashes happen. It is inevitable, no matter your experience level, and that is why it is crucial to proactively be prepared to have a safe ride. These are the most important items of bike safety gear to invest in, before you take that first pedal!
Need help with the rest of your essential beginner biking inventory? Get all 16 items of beginner cycling gear here!
Helmet
Arguably the most important item of bike safety gear, and one that you should invest the most in. Do not skimp on selecting a helmet, it should include specially designed safety factors and highly reputable safety ratings. Also look for a helmet that is ventilated, aero-dynamic, and adjustable, for comfort.
My vote for best biking helmet: this highly rated GIRO helmet available on Amazon
Biking Shoes
Whether you are road cycling or mountain biking will determine in large what type of biking shoe you end up wearing. Whether you choose clip in or not also plays a factor. For a complete breakdown in understanding the differences in biking shoes and their corresponding pedals, check out my intro to cycling sister post.
What is important to keep in mind, is to wear a biking shoe that is appropriate. Do not bike in flip flops or sandals, or loosely fitted shoes. Your biking shoe needs to have good grip, stability, and a covering to protect your feet.
My vote for best road biking cleat shoe: this Pearl Izumi model listed on Amazon
Hydration System
There are multiple ways to stay hydrated on a ride, but it is important to include at least one of these hydration systems in your bike safety gear inventory. If you are going on a shorter loop route, it is possible to leave a water bottle in a designated spot, where you will pass and can stop for a hydration break.
For example, if I know that I am staying in my relative neighborhood, I can plan out a biking route that passes by my home every few miles, and leave a water bottle on the mailbox for hydration breaks. Use this insulated water bottle to have handy for your hydration breaks!
Or, you can bike somewhere where hydration facilities are readily available, like a public park with water fountains. Just make sure if you are going this route, that you have done your research ahead of time and know where these facilities are available along your course.
Finally, you can utilize a portable hydration system in the form of a water bottle cage holder, or a biking hydration pack. These are a great option if you are planning a longer ride, a ride with limited breaks, a point to point ride, or a ride along a course with no facilities.
Cage holders like the lightweight one I use here are inexpensive and easy solutions to bringing a water bottle along with you on a ride. Just keep in mind that a bike ride of longer duration, like several hours, requires more water than a single water bottle can provide. You will either need to have a designated location on your course at which to refill, or invest in a hydration system that can store more water, such as a hydration pack. A hydration pack like this one that I recommend will provide on the go, easily accessible water, in larger quantities.
Safety Lights
Safety lights are another easy to install, inexpensive, item of bike safety gear that make a huge difference. I have tested the response from drivers when I have safety lights operating versus when I do not, and drivers respond with greater caution when they are operating.
Safety lights can be installed in the front and back of your bike. Front safety lights often illuminate a path in darkness, and rear safety lights can function as flashing units to alert other drivers to your presence from the rear.
My vote for best biking safety light set: this USB rechargeable, waterproof set available on Amazon
Repair Kit
Just as falls and crashes will happen, so will repairs. If your lucky, your repairs will always occur before you are miles away from home, but it is better to be proactively prepared for a repair mid-ride, then to find yourself stranded miles from home. There are a few simple and inexpensive ways you can invest in a repair protection plan.
Bike safety gear should include a portable kit that contains at least a mini pump and tire repair patches. This compact repair kit available on Amazon contains both, and can be installed onto your bike for easy transport and peace of mind.
Biking Jersey
A biking jersey is not only a item I recommend for comfort, it also serves its purpose as an item of bike safety gear. I recommend wearing a biking jersey that has built in pockets in the back, for a super easy and convenient way to carry all your necessities with you. These pockets can easily and safely transport your keys, phone, Chapstick, etc., on your person while you ride.
I find it important to have a secure and easy way to carry your phone with you on your rides, in case of an emergency and a need to make a phone call presents itself. Jersey pockets do just that.
My recommendation for best biking jersey: this short sleeve, pocketed jersey available on Amazon

Bicycle Safety Tip#2: Practice
When starting out as a biking newbie, an important part of bike safety rules involves practicing intentionally and slowly, and working your way up gradually. Do not bite off more than you can chew right away, give yourself plenty of time to practice, and follow these bicycle safety tips on how to best practice riding.
On Empty Roads
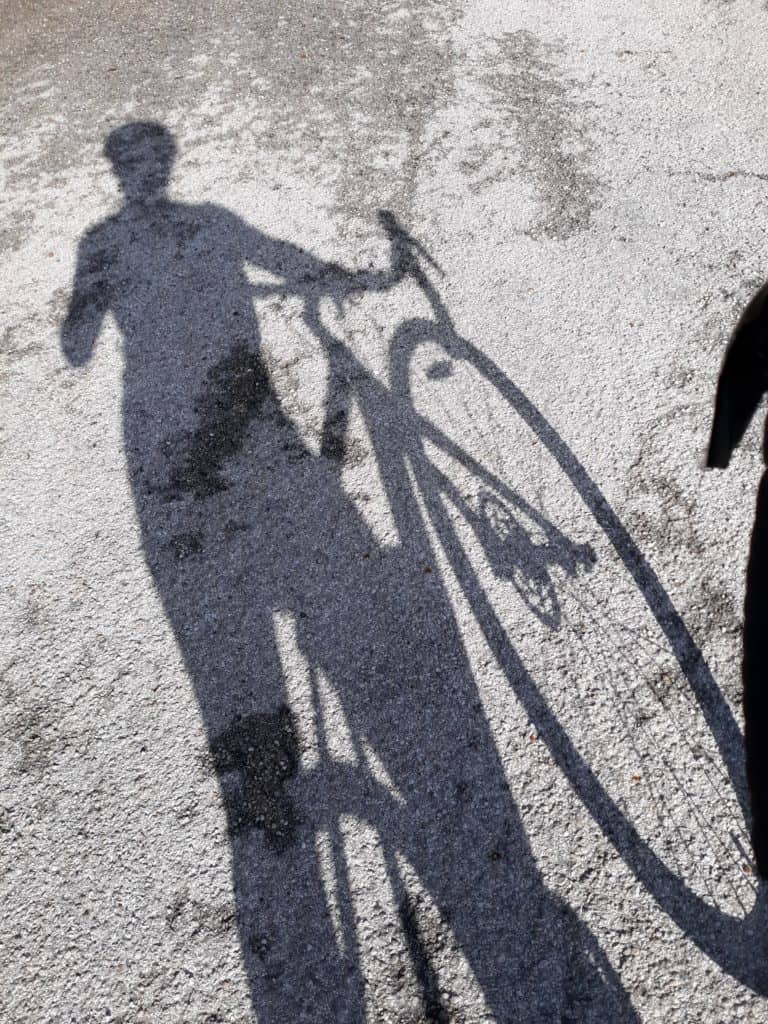
Practice on empty roads whenever possible. This may mean driving to a location that is more rural and has less vehicle traffic, as you get used to riding your bike.
 Bike safety rules involves practicing on empty roads
Off Peak Times
Another way to practice on empty roads may involve biking at off peak times. It is a pretty solid rule of thumb to assume avoidance of riding during rush hour traffic in the morning or evenings if at all possible, when you are a biking beginner. Ride during low traffic hours, weekends, etc., whenever possible, as you ease into riding.
Plenty of Daylight
This is true for both experienced and new riders. It is always better to cycle in daylight, whenever possible. I do not recommend biking out night, due to the concern involving other drivers, as well as unfamiliar and unseen obstacles that may present themselves on your path. One of the most important aspect of bicycle safety involves paying attention to your surroundings, and this is considerably more difficult in limited light.
If you are a new cyclist, while it is entirely possible to bike at night, I would not recommend it. Practice in plenty of daylight, for the consideration of other drivers, as well as your own safety.
Bicycle Safety Tip #3: Start Slow
Start slow! Pedal slow, keep your speed manageable, gradually increase your mileage slowly. Take on new challenges, like hills or turns, gradually. Work in breaks. Make turning easy. Keep things slow and steady as a beginner. As exhilarating as biking can be, a bike is also a powerful tool, and one that takes time to become familiar with.
Designate a Break Spot
As a beginner, go ahead and plan on taking breaks during your rides. This is for your own comfort and safety. Rather than trying to find a suitable break spot mid-ride, plan one out in advance along your course. Look for a protected spot with plenty of visibility, distance from traffic, and an easy in and out.
Designate an Easy Turn Around Spot
As a beginner, turns take time to get comfortable with. Keep your turns wide and slow at the beginning, if you can. Don’t attempt any hairpin turns as a newbie. Look for a wide, easy, turn around spot along your rides, and plan them out in advance, if you can. Know where they are along your course, before taking off.
Bicycle Safety Tip #4: Get Familiar with Your Route in Advance
I have found it extremely beneficial and helpful for my own bike safety, to plan out and get familiar with my route in advance. This often means hopping in my car and scouting out my route from that perspective, before I attempt it on my bike. I learn where the big hills are, where I want my designated break spots to be, where my easy turn around spots are, etc. It also gives me valuable insight into the lay of the land, such as where potential obstacles may be, like large potholes, branches in the road, or sharp turns.
I generally do not embark on an unfamiliar course or road, without having scoped it out first. This keeps me from having to make split second decisions mid ride.

Bicycle Safety Tip #5: Use Signaling
It is important to use proper signaling, to alert fellow drivers. Here is a quick breakdown of signaling basics:
- to signal a left turn, extend your left arm out sideways with all fingers or your index finger extended
- to signal a right turn, extend your left arm out sideways, bent up at a 90 degree angle at the elbow OR extend your right arm out sideways, with all fingers or your index finger extended
- to signal a slow down or stop, extend your left arm out sideways, bent down at a 90 degree angle at the elbow
Officially, a right turn signal is taught as left arm out. It has become accepted that to signal a right turn one can extend the right arm out sideways with fingers extended, as this seems more intuitive to drivers.
You should always signal your turns and stops to others on the road! Do not rely on drivers to be able to judge your next move. Even after signaling, assume a high level of caution and do not depend on other drivers to always anticipate their responses to your position.
Bicycle Safety Tip #6: Let Someone Know and Bring a Phone
Let a family member friend know before you go biking. Let them know when you are leaving, when you anticipate being finished, and what your anticipated route is. And bring a phone (hence my earlier recommendation for wearing a bike jersey with built in back pockets for transporting), so that you can notify someone of an emergency of if you become stranded.
Bicycle Safety Tip #7: Understand and Maintain Your Bike
Get to know your bike. Get to know what position on the saddle feels comfortable, and what posture feels right. Get to know your gears and what they can do. Read your owners manual, talk to bike shop owners and fellow riders, and watch some tutorials online to understand the intricacy and abilities of your own bike.
Don’t just get to know your bike, take good care of it. Maintain your bike for your own bike safety. Whether you get to the point where you can maintain your bike yourself, or you take it in to a shop for regular tune ups, make sure that you regularly maintain your bike.

Bicycle Safety Tip #8: Avoid Bad Weather
I would recommend to avoid riding in bad weather, if it is foreseeable. Wet, slick roads can obviously affect the performance of your bike tires, not to mention other external components of your bike. If you do happen to get caught unexpectedly in a storm, try to find a protected area to ride out the storm. If that is not possible, than use extra caution when riding, and adjust your environmental responses. Do not take tight turns, give yourself extra room and time to brake, and maintain a slower speed, etc.
Bicycle Safety Tip #9: Pay Attention
As a runner as well as biker, I have learned the differences in what paying attention looks like from the seat of a bike versus on my own two feet. When running or walking, I can easily hop off onto the shoulder if I see an oncoming obstacle. On a bike, however, movement takes more advance notice, precision, and time, and therefore it is critical to bike safety that you maintain attention to your path at ALL times. Do not take your eyes off the path ahead of you for a second!
Adjusting to obstacles in your path takes more time on a bike, and so you need to give yourself as much advance warning to such obstacles that may present themselves.
Bicycle Safety Tip #10: Learn Starting and Stopping
Starting and stopping on my own road cycling bike was probably the most intimidating part of cycling for me. Know that you are probably going to fall several times before getting the hang of starting and stopping, especially if using clip in pedals and cleat biking shoes (see my intro to road cycling post for a complete explanation of clip in pedals and cleat shoes). And a good majority of those tumbles are likely to happen when you are starting and stopping.
Learning how to safely start and stop largely depends on whether you are using clip in pedals and cleat shoes (which makes the process more complicated for a newbie) or not, but regardless, there are a few bike safety rules you can follow to help ease into the process of starting and stopping on your bike.
When learning to take off from a standstill, the first thing to figure out is your “preferred” or dominant leg. Just like you are most likely either right or left handed, you will have a preference for right or left footed. Without thinking, practice taking off a few times and notice which foot you subconsciously go to lead with.
Or, have someone stand behind you and give you a slight push, and then notice which foot you bring forward first to stop your forward movement. This will be the dominant foot you will want to lead with (and if using a clip in pedal and cleat shoe, this will be the foot you will want to clip in your shoe first while pushing off).
Once you have established your leading or dominant foot, when you are ready to push off, bring that corresponding pedal up to a perpendicular position to the ground, position your foot on the pedal, then push off while putting pressure down on that foot, then repeat with the other foot on the other side. On that initial push off with your dominant, leading foot, try to get momentum going with a hearty push, so that you can have time to place and align your other foot for the first pedal on that side.
I personally am right footed, just like I am right handed. Which means that I bring my right pedal up to a perpendicular position to the ground before taking off, press down and connect my right foot when I take off, then connect my left foot for the second pedal.
In the beginning, give yourself plenty of unobstructed room when possible to start. It takes practice to get going from a standstill. Often, in the initial stages of my practice, it would take me several rotations before both feet were connected and pedaling as normal. On several occasions, I would not give myself enough chance at gaining momentum and would lose balance.
It is important to know that this is ok and normal in the beginning, and to keep on practicing. Do not panic, and stay calm as you work on maintaining balance. It will become like second nature eventually and part of your muscle memory.
One way to practice taking off, especially if clipping in, is to prop yourself up, seated on your bike, against a wall or other tall structure. I used our mailbox. While seated and propped up, practice positioning (or attaching) your shoe and getting in the correct stance for taking off. You can also practice stopping (or detaching your shoe from your pedal) from this position also.
One additional thing to keep in mind, is knowing a strategy for where to start and stop. I would avoid trying to take off in the middle of an uphill while you are still in the learning stages. What might appear to be a very slight grade is harder to navigate when emerging from a standstill, while trying to get the hang of gaining balance and gaining momentum.
On the other hand, keep in mind where you choose to stop. Often, it will be in the middle of that horrible hill that you will feel the strong urge to want to stop and take a break. But keep in mind, that you will have to eventually take off from a standstill on that hill. For me, it has proven much easier to stop on the crest of an uphill than it is to start at the base, and now I use that as motivation to get over the crest of those hills without stopping!
Now when I approach an unfamiliar hill or an ascent I have not practiced on yet, I typically stop on neutral ground to take a break before taking on the hill, to regain my breath and my energy, so that I do not have to push off from the middle of the hill.
Some of my most precarious road cycling moments occurred before I figured this strategy out. This is also why it is important to pay attention to your surroundings at all times when on your bike, in order to constantly scope out and prepare a mental strategy to help you best achieve success.
Stopping on your bike can tend to catch you off guard the first couple of times. Especially if you are a runner, used to being able to stop immediately. You cannot stop on a dime on a bike, without the likelihood of losing balance and falling. In particular, if you are clipped in, it is imperative that you give yourself extra time to detach and slow down, especially when you are a beginner.
Bicycle Safety Tip #11: Hydrate
Consistently stay hydrated! That is why it is so important to have a hydration system in place, regardless of which one you choose to use. Hydrate consistently before and during your ride, and replenish after.

There you have it! The 11 biking safety rules, cycling tips, and crucial bike safety gear you need to have the most exciting, and responsible, safe ride!
Want to take your biking goals to the next level? If you want to put your new biking skills to the test, then get ready to train for a race!
Get Your 16 Week Half Century Training Calendar HERE!
Get Your 16 Week Full Century Training Calendar HERE!
PIN for LATER!